
Bread Maker Recipe Book PDF: A Comprehensive Guide
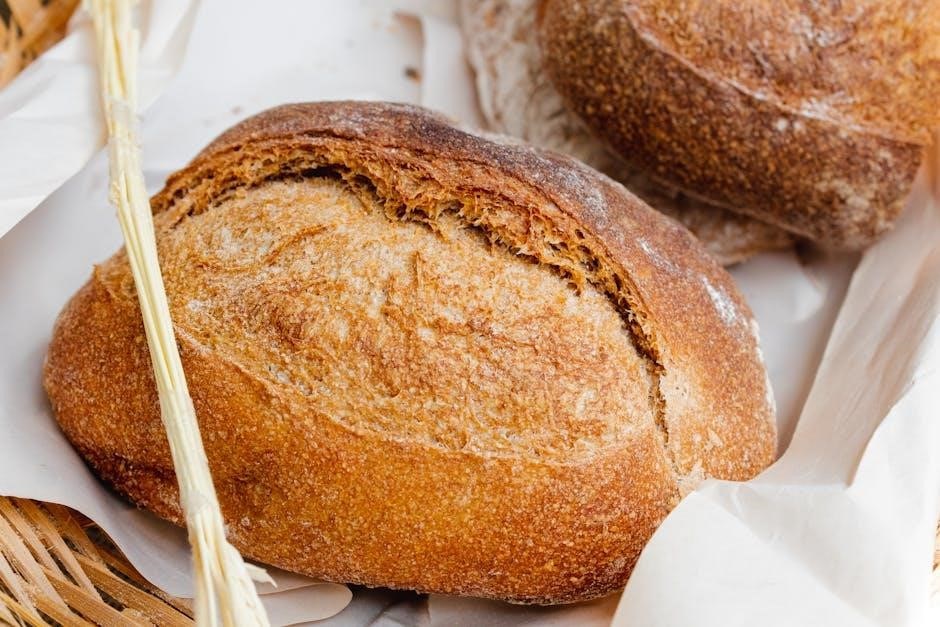
Embark on a delightful journey into home baking with our comprehensive bread maker recipe book PDF. This guide is designed to empower both novice and experienced bakers to create a variety of delicious breads effortlessly. Discover a world of flavors and textures at your fingertips!
Understanding Bread Maker Basics
Before diving into the world of bread maker recipes, it’s essential to grasp the fundamentals of these convenient kitchen appliances. A bread maker automates the bread-making process, handling everything from mixing and kneading to proofing and baking. Understanding your specific model’s features, settings, and cycles is crucial for achieving consistent and satisfying results.
Most bread makers offer a range of pre-programmed cycles tailored to different types of bread, such as basic white bread, whole wheat, French bread, and even gluten-free options. Familiarize yourself with these settings and their corresponding durations. Pay close attention to the order in which ingredients should be added to the bread pan, as this can significantly impact the final product. Typically, liquids are added first, followed by dry ingredients, with yeast added last, away from the wet ingredients.
Additionally, understanding the machine’s crust control settings allows you to customize the darkness of your bread’s crust. Experiment with different settings to find your preferred level of browning. Also, be aware of any special features your bread maker may have, such as a fruit and nut dispenser, which automatically adds these ingredients at the appropriate time during the baking cycle. Proper use and understanding of these basics sets the stage for successful bread making.
Essential Ingredients for Bread Maker Recipes
Crafting the perfect loaf in your bread maker hinges on using high-quality, fresh ingredients. The foundation of most bread recipes is flour, and for bread makers, bread flour is typically recommended due to its higher protein content, which contributes to a stronger gluten structure and a chewier texture. All-purpose flour can be used, but the results may be slightly different. Whole wheat flour adds a nutty flavor and increased fiber, but it can also result in a denser loaf.
Yeast is another critical component, responsible for leavening the bread. Bread machine yeast, also known as instant yeast or rapid-rise yeast, is often preferred as it doesn’t require proofing before use. However, active dry yeast can also be used, but it must be proofed in warm water with a bit of sugar beforehand.
Liquids, such as water or milk, are essential for hydrating the flour and activating the yeast. The temperature of the liquid is important; it should be lukewarm, typically around 105-115°F (40-46°C). Other essential ingredients include sugar, which provides food for the yeast and adds sweetness, and salt, which controls the yeast’s activity and enhances flavor. Fats, such as oil or butter, add richness and tenderness to the bread. Using quality ingredients ensures optimal texture.
Basic White Bread Recipe for Bread Makers
Creating a perfect loaf of basic white bread in your bread maker is simpler than you might think. This recipe provides a foundational understanding of bread making, easily customizable to suit your taste. Begin by adding 1 1/4 cups of lukewarm water to your bread maker pan. Follow this with 2 tablespoons of skim milk powder and 2 tablespoons of caster sugar.
Next, add 2 tablespoons of garlic-infused olive oil for subtle flavoring, or substitute with regular olive oil. Incorporate 1 teaspoon of salt to control the yeast and enhance the bread’s overall taste. Then, carefully measure and add 3 1/2 cups of bread flour, ensuring it covers the liquid ingredients. Finally, sprinkle 2 teaspoons of bread machine yeast on top of the flour, away from the liquid and salt.
Secure the bread pan into your bread maker and select the basic white bread setting. Choose your preferred crust color, typically medium or light, and press start. The bread maker will handle the kneading, rising, and baking processes. Once the cycle is complete, carefully remove the bread pan using oven mitts, as it will be hot. Transfer the loaf to a wire rack to cool completely before slicing and enjoying your homemade white bread.
Whole Wheat Bread Recipe for Bread Makers
Embrace the wholesome goodness of whole wheat bread with this easy-to-follow bread maker recipe. This recipe yields a nutritious and flavorful loaf, perfect for sandwiches or toast. Begin by adding 1 1/2 cups less 3 tablespoons of lukewarm water into your bread maker pan. Next, incorporate 1 1/2 tablespoons of sugar to feed the yeast and add a touch of sweetness.
Add 1 1/2 tablespoons of dry skim milk for added richness and a softer crumb. Follow with 4 1/2 teaspoons of shortening or sweet butter to enhance the bread’s texture. Now, add 1 1/2 teaspoons of salt to control the yeast and balance the flavors. Incorporate 2 1/4 cups of bread flour and 3/4 cup of whole wheat flour, ensuring a good mix of both textures.
Finally, add 2 1/2 teaspoons of dry yeast to the bread maker pan. Select the whole wheat bread setting on your bread maker and choose your desired crust color. Press start and allow the bread maker to complete its cycle. Once finished, carefully remove the bread pan using oven mitts and transfer the loaf to a wire rack to cool completely before slicing. Enjoy the hearty and satisfying taste of homemade whole wheat bread.
Gluten-Free Bread Recipes for Bread Makers
Discover the joy of baking gluten-free bread at home with your bread maker. Creating delicious and satisfying gluten-free loaves is easier than you think. This section provides a simple recipe to get you started. Begin by gathering your ingredients: 1 1/2 cups of warm water, 2 tablespoons of olive oil, 1 teaspoon of apple cider vinegar, and 1 1/2 teaspoons of salt.
In a separate bowl, combine 3 cups of gluten-free all-purpose flour blend, 2 tablespoons of sugar, and 2 1/4 teaspoons of instant yeast. Ensure that your gluten-free flour blend contains xanthan gum or guar gum, as these act as binding agents. Add the wet ingredients to the bread maker pan first, followed by the dry ingredients.
Select the gluten-free setting on your bread maker. If your machine doesn’t have a gluten-free setting, use the basic or rapid setting, but monitor the dough closely. Press start and let the bread maker do its work. Once the cycle is complete, remove the bread pan and let the loaf cool completely on a wire rack before slicing. Enjoy your fresh, homemade gluten-free bread! Feel free to experiment with other gluten-free recipes and flour blends to find your perfect loaf.
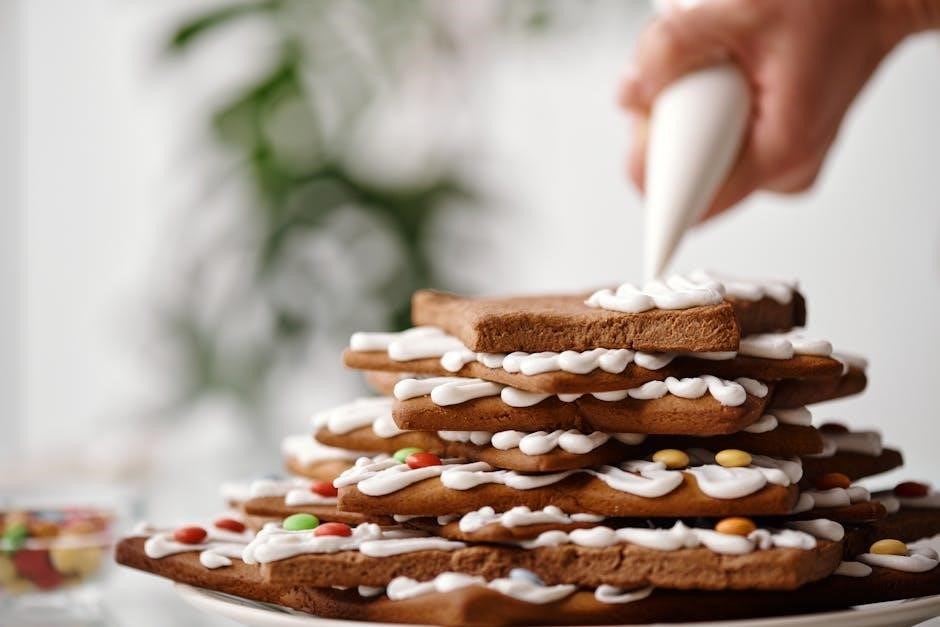
Sweet Bread Recipes for Bread Makers (e.g., Banana Bread)
Indulge your sweet tooth with a collection of delightful sweet bread recipes tailored for your bread maker. Banana bread, a classic favorite, is just the beginning. Imagine waking up to the aroma of freshly baked cinnamon raisin bread or a decadent chocolate chip loaf. These recipes transform your bread maker into a dessert-making marvel.
For a scrumptious banana bread, start with ripe bananas, about three medium-sized ones, mashed to a smooth consistency. Combine them with melted butter, sugar, eggs, and a splash of vanilla extract. In a separate bowl, whisk together flour, baking soda, and a pinch of salt. Gradually add the dry ingredients to the wet, mixing until just combined. Be careful not to overmix.
Pour the batter into your bread maker pan. If your machine has a fruit and nut dispenser, consider adding chopped walnuts or pecans for extra crunch. Select the sweet bread setting on your bread maker, or the cake setting if available. Press start and let the machine work its magic. Once baked, let the banana bread cool slightly before slicing and serving. Enjoy the warm, comforting flavors of homemade sweet bread!

Dough Recipes for Bread Makers (Pizza, Baguettes)
Unleash the versatility of your bread maker with these exceptional dough recipes, perfect for crafting homemade pizzas and delectable baguettes. Forget the hassle of kneading; your bread maker will do the work for you, leaving you with perfectly proofed dough ready for shaping and baking.
For pizza dough, combine warm water, olive oil, sugar, and salt in your bread maker pan. Add bread flour and yeast, ensuring the yeast doesn’t come into direct contact with the salt; Select the dough setting on your machine and let it run its course. Once the cycle is complete, remove the dough, divide it into portions, and roll it out to your desired thickness. Top with your favorite ingredients and bake in a hot oven until golden brown and bubbly.
To create baguette dough, follow a similar process, using a slightly higher hydration level for a chewier texture. After the dough cycle, gently shape the dough into long, slender baguettes. Score the tops with a sharp knife and bake in a preheated oven with steam for a crisp crust and airy interior. Enjoy the satisfaction of creating artisanal breads with the convenience of your bread maker.
Troubleshooting Common Bread Maker Problems
Even with the convenience of a bread maker, occasional issues can arise. Understanding common problems and their solutions will ensure consistently perfect loaves. One frequent issue is a loaf that doesn’t rise sufficiently. This could stem from expired yeast, incorrect measurements, or using cold liquids. Always check the yeast’s expiration date, measure ingredients precisely, and use lukewarm water.
Another problem is a loaf that collapses after rising. This might be due to too much liquid or too little flour. Adjust the liquid-to-flour ratio in your recipe. A dense, heavy loaf could indicate insufficient kneading or too much whole wheat flour. Ensure your bread maker is kneading properly and consider reducing the amount of whole wheat flour.
If your bread has a gummy texture, it might be underbaked. Extend the baking time slightly. A burnt crust can be prevented by selecting a lighter crust setting or reducing the sugar content. Also, ensure that the kneading paddle is properly installed before starting the bread maker. Addressing these common problems will help you consistently bake delicious bread with your bread maker.
Tips for Perfecting Bread Maker Loaves
Achieving bakery-quality bread from your bread maker involves more than just following a recipe. Start by ensuring all ingredients are fresh and at the correct temperature. Lukewarm liquids activate the yeast more effectively, leading to better rising. Measuring ingredients accurately is crucial; use measuring cups and spoons specifically designed for baking.
Experiment with different types of flour to achieve desired textures. Bread flour, with its higher gluten content, produces a chewier loaf, while all-purpose flour results in a softer crumb. Adding vital wheat gluten can enhance the texture of whole wheat bread. Monitor the dough during the kneading process. If it appears too dry, add a teaspoon of water at a time until it forms a smooth ball.
For enhanced flavor, consider adding herbs, spices, or seeds to your dough. Sun-dried tomatoes, olives, or roasted garlic can create savory delights. Always remove the kneading paddle immediately after baking to prevent a hole in the bottom of your loaf. Finally, allow the bread to cool completely on a wire rack before slicing for optimal texture and flavor.
Cleaning and Maintaining Your Bread Maker
Proper cleaning and maintenance are crucial for prolonging the life of your bread maker and ensuring optimal performance. After each use, unplug the bread maker and allow it to cool completely before cleaning. Remove the bread pan and kneading paddle. Soak the paddle in warm, soapy water to loosen any stuck-on dough. Wash the bread pan with a non-abrasive sponge and mild detergent.
Avoid immersing the bread maker in water; instead, wipe the interior and exterior with a damp cloth. Pay attention to the heating element, ensuring it is free from any debris. For stubborn residue, a paste of baking soda and water can be applied gently. The kneading paddle should be thoroughly dried before reinserting it into the bread pan.
Regularly check the bread maker for any signs of wear and tear, such as cracks in the bread pan or damage to the heating element. Store your bread maker in a dry, cool place to prevent moisture buildup. Following these simple steps will keep your bread maker in excellent condition, allowing you to enjoy freshly baked bread for years to come.
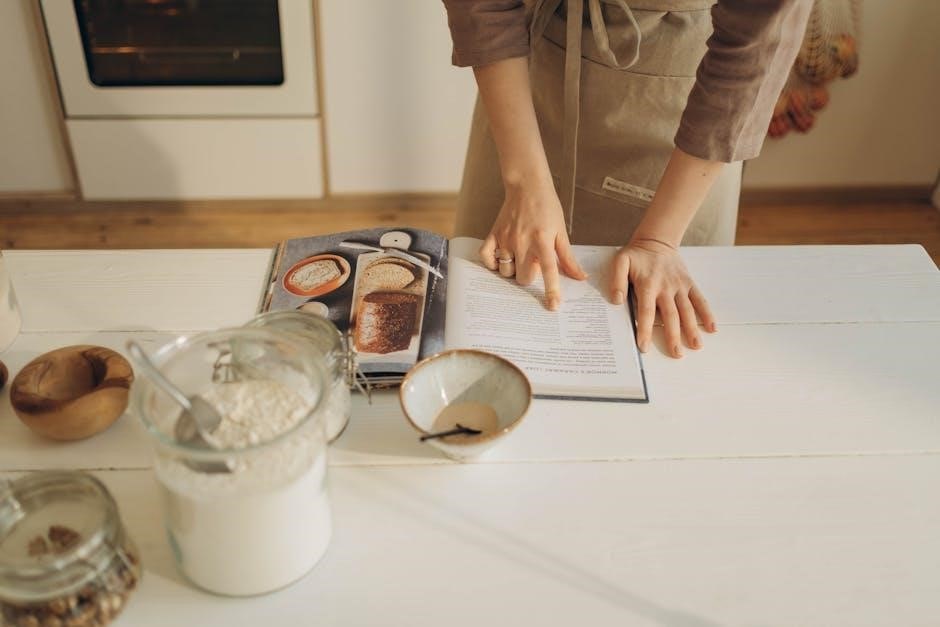
Adapting Traditional Recipes for Bread Makers
Transforming your cherished traditional bread recipes for use in a bread maker requires some adjustments to ensure success. First, carefully review the original recipe and identify the key ingredients and their proportions. Bread makers typically work best with recipes that have a higher liquid content, so you may need to increase the amount of water or other liquids slightly.
Pay close attention to the order in which ingredients are added to the bread maker pan. Generally, liquids go in first, followed by dry ingredients, with yeast added last, away from the liquids. Reduce the amount of yeast slightly, as bread makers often create a warmer environment that accelerates the rising process.
Adjust the mixing and kneading times to match the bread maker’s cycles. You may need to experiment with different settings to find the perfect combination for your recipe. Monitor the dough’s consistency during the kneading process; it should be smooth and elastic. By making these adjustments, you can enjoy your favorite traditional breads with the convenience of a bread maker.
Advanced Bread Maker Techniques (Sourdough)
Venturing into sourdough bread making with a bread maker opens up a world of complex flavors and textures. The key to successful sourdough in a bread maker lies in understanding the nuances of sourdough starters. Begin with an active and well-fed starter to ensure proper fermentation. When adapting a sourdough recipe, consider using the bread maker primarily for the kneading and initial proofing stages.
Carefully monitor the dough’s development, as sourdough fermentation can be unpredictable. Adjust the timing based on the starter’s activity and the room temperature. For a deeper flavor, consider using a longer, cooler fermentation process within the bread maker, if your machine allows for customized settings. Once the dough has sufficiently proofed, shape it by hand and bake it in a conventional oven for a crispier crust.
Experiment with different flours and hydration levels to create unique sourdough loaves; Remember that sourdough bread making is a process of continuous learning, so embrace the challenges and enjoy the rewarding experience of crafting artisanal bread with your bread maker.